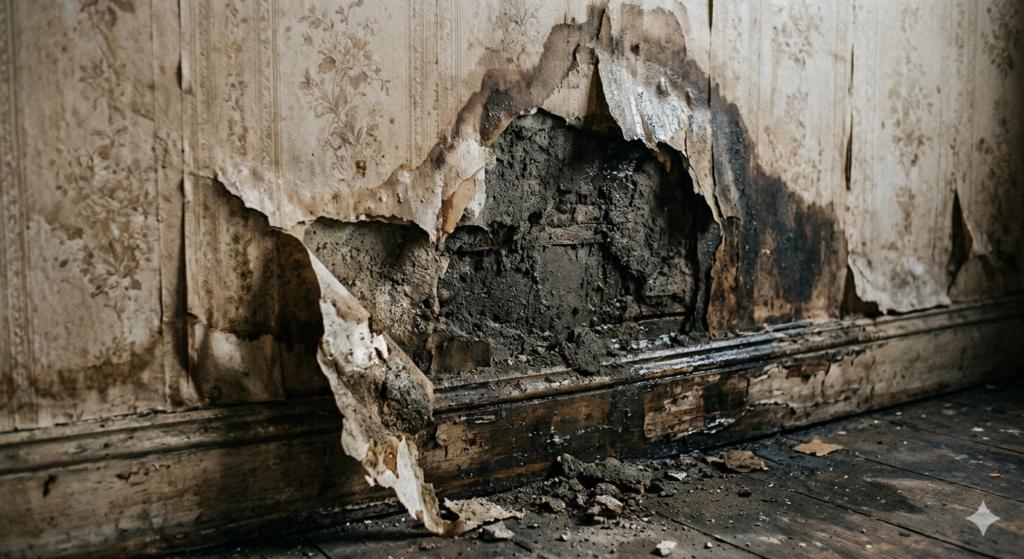
Few things induce panic in a homeowner quite like the sight of peeling wallpaper, bubbling plaster, or a dark, wet stain slowly creeping up the living room wall. For decades, the immediate reaction to these symptoms has been to call a damp-proofing company. Often, the diagnosis is quickly pronounced as “rising damp,” followed by a hefty quote for injecting chemical barriers into the masonry.
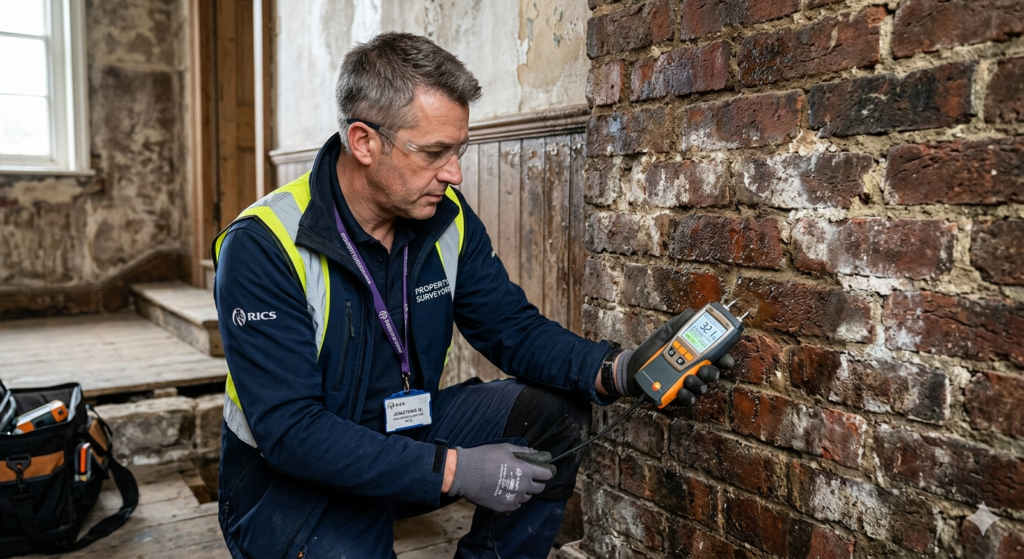
However, modern building scientists and heritage conservationists warn that this knee-jerk reaction is frequently incorrect. Solving damp in old houses requires playing detective before you open your wallet. By understanding the building physics of older properties, you can accurately diagnose where the water is truly coming from, preventing unnecessary, expensive, and potentially structurally damaging chemical treatments.
The Rising Damp Myth
What is the secret to solving damp in old houses? Solving damp in old houses involves accurately diagnosing the root cause of moisture—whether from internal condensation, plumbing leaks, or external penetration—rather than immediately assuming rising damp. By identifying the specific moisture source, homeowners can implement targeted repairs instead of relying on expensive chemical damp-proofing.
True rising damp occurs when groundwater travels vertically up through the porous brickwork via capillary action. While it does exist, independent building surveyors widely agree that it is incredibly rare.
In most cases, the moisture causing the damage is not coming from the ground up. It is coming from the top down, the outside in, or the inside out. When chemical damp-proof courses (DPCs) are injected into walls to cure misdiagnosed damp, they often trap existing moisture inside the brick, making the decay much worse over time.
Condensation Control and the Dew Point
The vast majority of damp problems in older homes are actually caused by the occupants. Bathing, cooking, and breathing release liters of water vapor into the air daily. If the house lacks adequate ventilation, this moisture has nowhere to go.
This leads us to the concept of the dew point. The dew point is the specific temperature at which warm, moisture-laden air can no longer hold its water vapor, forcing it to condense into liquid. In winter, the internal surface of a solid exterior wall is often freezing cold. When warm indoor air hits this cold wall, it reaches its dew point, dumping liquid water onto your plaster.
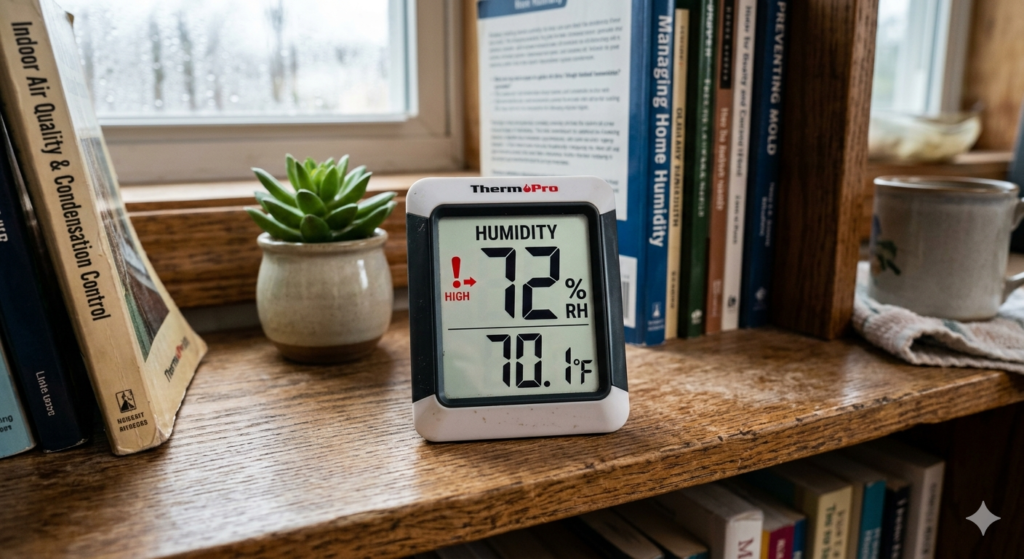
Effective condensation control is the only way to stop this cycle. Utilizing a simple hygrometer (humidity gauge) on your mantelpiece allows you to monitor your indoor relative humidity. If it consistently reads above 60%, you are actively creating a damp problem. Fixing this requires balancing your heating with rigorous mechanical ventilation, a core concept detailed extensively in our Decarbonization Guide.
Penetrating Damp: The Outside Threat
If the damp patch is isolated to a specific area—such as around a window, near the ceiling, or corresponding to a chimney breast—the culprit is likely penetrating damp.
Penetrating damp occurs when external water breaches the building envelope and soaks through the masonry. Common triggers for this include:
- Blocked or broken gutters: Rainwater cascades down the face of the brickwork instead of draining away.
- Cracked render or missing pointing: Tiny cracks act like funnels, drawing driving rain deep into the wall.
- High exterior ground levels: If a new patio or driveway has been poured outside, it might be bridging the original damp-proof course, allowing rainwater to soak straight into the interior plaster.
Resolving penetrating damp is straightforward but requires physical labor. You must fix the roof tiles, clear the gutters, patch the render, or dig away the earth bridging the exterior walls. Once the external defect is fixed, the wall will naturally dry out over several months.
Hygroscopic Salts and Old Plaster
Sometimes, homeowners fix the leaking roof or lower the ground level, yet the wall still looks wet. This frustrating scenario is usually caused by hygroscopic salts.
When a wall remains wet for a long period, groundwater or brick materials dissolve natural salts and carry them to the surface of the plaster. When the water eventually evaporates, it leaves these microscopic salt crystals behind.
These salts are highly hygroscopic, meaning they actively absorb moisture directly from the ambient air in the room. Even on a dry day, if the air is slightly humid, the salty plaster will draw that moisture in, making the wall look and feel damp. The only permanent cure for this is to completely chip off the contaminated plaster and replaster the area using a breathable lime mix that can handle natural moisture fluctuations.
Conclusion
The presence of moisture in a historic property is a warning sign that the building’s delicate environmental balance has been disrupted. Solving damp in old houses is rarely achieved by treating the symptoms with quick-fix chemical injections. Instead, you must holistically assess the structure to identify the true source. By rigorously managing condensation control, repairing the external envelope to stop penetrating damp, and dealing with residual hygroscopic salts, you can restore your home to a healthy, dry, and breathable state without wasting money on unnecessary “cures.”
Frequently Asked Questions (FAQ)
1. How can I tell the difference between condensation and penetrating damp?
Condensation usually forms in poorly ventilated areas, such as the corners of rooms, behind heavy furniture, or inside closets. It is often accompanied by black pinpoint mold. Penetrating damp typically appears as a localized, distinct water stain or damp patch that corresponds to an external defect, like a broken gutter or window sill, and tends to worsen immediately after heavy rain.
2. Are chemical damp-proof courses (DPCs) ever necessary?
They are rarely necessary for old, solid-walled properties. Historic houses were built to be breathable; they manage moisture by absorbing it and evaporating it via the wind and sun. Injecting an impermeable plastic or chemical layer disrupts this natural breathability and often forces moisture higher up the wall to escape.
3. Will simply turning up the heating stop damp?
Heating a room will raise the temperature of the walls, moving the dew point and potentially stopping condensation from forming. However, warmer air also holds more moisture. If you heat the room but do not ventilate the moist air outside, the damp problem will persist. Heating and ventilation must always be balanced.
4. How long does a solid brick wall take to dry out after a leak is fixed?
Solid masonry acts like a giant sponge. Depending on how thick the wall is and how long the leak was active, a saturated brick wall can take anywhere from six to eighteen months to fully dry out naturally. Ensure the area is well-ventilated during this drying period before applying any new paint or finishes.